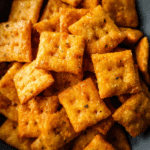
How to Make Crispy Homemade Cheez-Its Fast

Discover the joy of crispy, perfectly cheesy Homemade Cheez-Its you can whip up in no time! This easy recipe brings out that classic crunchy snack flavor with a fresh, homemade twist. Whether you’re craving a quick bite or planning a party snack, these Homemade Cheez-Its deliver irresistible taste and texture that beats store-bought anytime.
Why You’ll Love This Recipe
- Speedy Snack: Ready in under 30 minutes, perfect for last-minute cravings.
- Crisp Perfection: Achieves that iconic crunch without extra additives.
- Simple Ingredients: Uses pantry staples that come together effortlessly.
- Customizable Flavor: Easily tweaked with spices or cheese varieties for a personal touch.
- Kid-Friendly: A wholesome homemade alternative to processed snacks kids adore.
Ingredients You’ll Need
The beauty of this Homemade Cheez-Its recipe is in its simplicity and how each ingredient plays a key role in delivering that crisp, cheesy, golden bite. You’ll find these basics essential to getting the authentic taste and texture just right.
- Sharp Cheddar Cheese: Provides that rich, bold cheese flavor critical for authentic taste.
- All-Purpose Flour: Forms the sturdy base for a perfectly crispy cracker dough.
- Unsalted Butter: Adds flakiness and richness to the crackers without overpowering.
- Salt: Enhances the cheese flavor and balances the dough’s taste.
- Cold Water: Helps bring the dough together without losing texture.
- Optional Spices: Paprika, cayenne, or garlic powder for a flavor twist.
Variations for Homemade Cheez-Its
Feel free to get creative! This recipe is a fantastic base that you can easily adapt to suit your taste preferences or dietary needs. Whether you want to spice things up, go vegan, or try new cheeses, the possibilities are endless.
- Spicy Kick: Add cayenne pepper or chili powder for a bold, fiery flavor.
- Herb Infusion: Mix in dried rosemary or thyme for an aromatic touch.
- Vegan Version: Use vegan cheese and coconut oil to keep it dairy-free and delicious.
- Extra Crunch: Incorporate a bit of cornmeal to the dough for added texture.
- Different Cheeses: Try gouda, parmesan, or pepper jack for unique cheesy notes.

How to Make Homemade Cheez-Its
Step 1: Prepare Your Ingredients and Tools
Gather your cheddar cheese, flour, butter, salt, and cold water. Preheat your oven to 350°F (175°C) and line a baking sheet with parchment paper or a silicone mat for easy cleanup.
Step 2: Mix the Dough
Combine grated sharp cheddar cheese and unsalted butter in a large bowl. Use your fingers or a pastry cutter to blend them until crumbly. Stir in the all-purpose flour and salt, adding the cold water little by little until the dough comes together but isn’t sticky.
Step 3: Roll Out the Dough
Place the dough on a lightly floured surface and roll it out evenly to about 1/8-inch thickness. The thinner the dough, the crispier your Homemade Cheez-Its will be.
Step 4: Cut Into Squares and Dock
Using a knife or pizza cutter, slice the dough into small square shapes, roughly 1 to 1.5 inches each. Use a toothpick to poke a hole in the center of each square; this helps the crackers bake evenly and adds that classic look.
Step 5: Bake to Perfection
Transfer the cut dough squares onto your prepared baking sheet, spacing them slightly apart. Bake for about 12-15 minutes or until they’re golden and crisp. Keep a close eye in the final minutes to avoid burning.
Step 6: Cool and Enjoy
Allow the Homemade Cheez-Its to cool completely on a wire rack. This step is crucial because they continue to crisp up as they cool. Serve right away or store them for later snacking.
Pro Tips for Making Homemade Cheez-Its
- Chill Your Dough: Refrigerate the dough for 15 minutes before rolling for easier handling.
- Uniform Thickness: Roll the dough evenly to ensure all crackers bake consistently.
- Grate Cheese Yourself: Use freshly grated cheddar for better melt and flavor than pre-shredded varieties.
- Watch the Oven: Baking times can vary, so check crackers frequently near the end.
- Store Properly: Keep Homemade Cheez-Its in an airtight container to maintain crispness.
How to Serve Homemade Cheez-Its
Garnishes
Sprinkle a little flaky sea salt or smoked paprika over freshly baked Homemade Cheez-Its for a finishing touch that enhances their natural flavor.
Side Dishes
Pair these crispy snacks with dips like creamy ranch, tangy salsa, or fresh guacamole to keep things interesting when serving at gatherings or movie nights.
Creative Ways to Present
Arrange Homemade Cheez-Its in a layered snack board alongside nuts, cured meats, and fresh fruits for an impressive and tasty appetizer display.
Make Ahead and Storage
Storing Leftovers
Keep Homemade Cheez-Its in an airtight container at room temperature for up to a week to retain their crunch and flavor.
Freezing
For longer storage, freeze the crackers in a sealed freezer bag for up to two months. Thaw at room temperature before serving.
Reheating
If Homemade Cheez-Its lose some crispness, pop them in a preheated oven at 300°F (150°C) for 3-5 minutes to refresh their crunch without drying them out.
FAQs
Can I use different types of cheese for Homemade Cheez-Its?
Absolutely! While sharp cheddar is classic, experimenting with gouda, parmesan, or pepper jack can add exciting flavors to your Homemade Cheez-Its.
How do I make the crackers extra crispy?
Rolling the dough thinner and baking just until golden helps achieve maximum crispness. Also, letting them cool fully before eating is key.
Are Homemade Cheez-Its gluten-free?
This recipe uses all-purpose flour, which contains gluten, but you can substitute gluten-free flour blends carefully to make the recipe gluten-free.
Can I store Homemade Cheez-Its in the fridge?
It’s best to store them at room temperature in an airtight container; refrigeration can introduce moisture and reduce crispness.
What is the best way to cut the crackers?
Using a sharp knife or pizza cutter helps create clean, even squares. Poking a hole in the center with a toothpick helps them bake evenly and keeps the classic Cheez-It look.
Final Thoughts
Now that you know how to make quick and crispy Homemade Cheez-Its, you’re all set to enjoy an unbeatable snack straight from your oven. This recipe is approachable, adaptable, and endlessly delicious — the perfect homemade treat to share with friends, pack for lunch, or savor anytime. Give it a try and discover why making snacks from scratch is so much more rewarding!
Related Posts
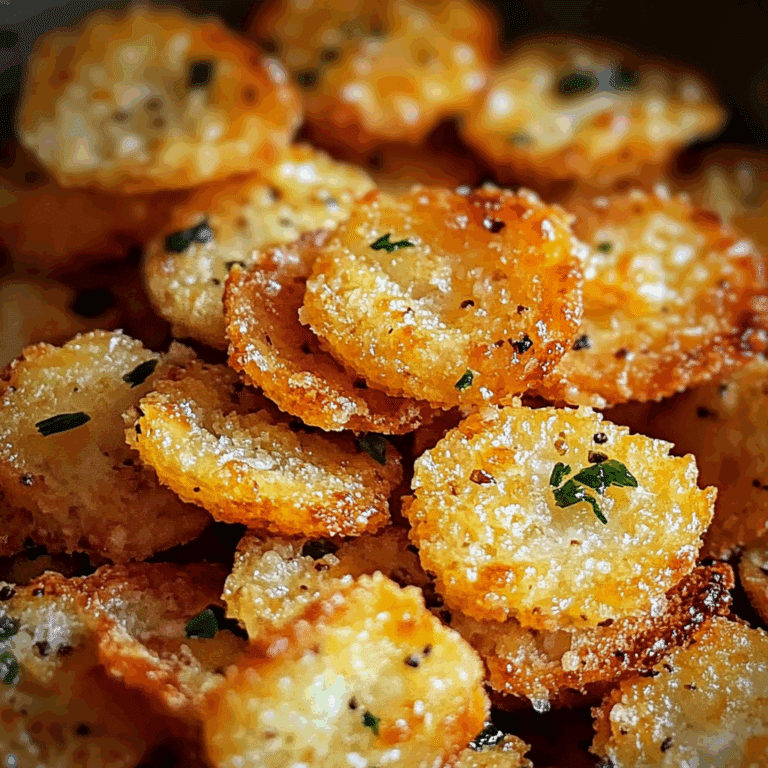
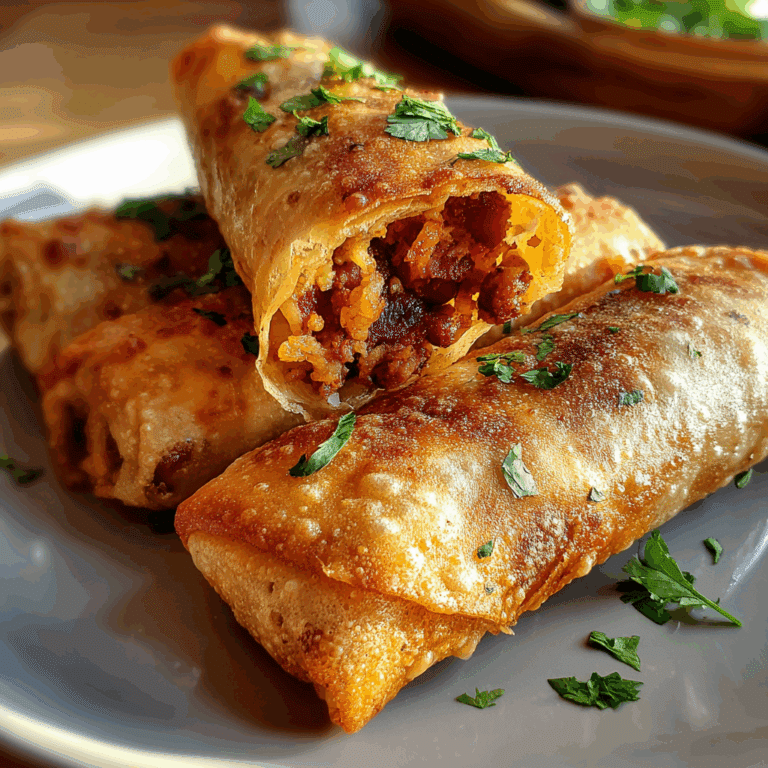
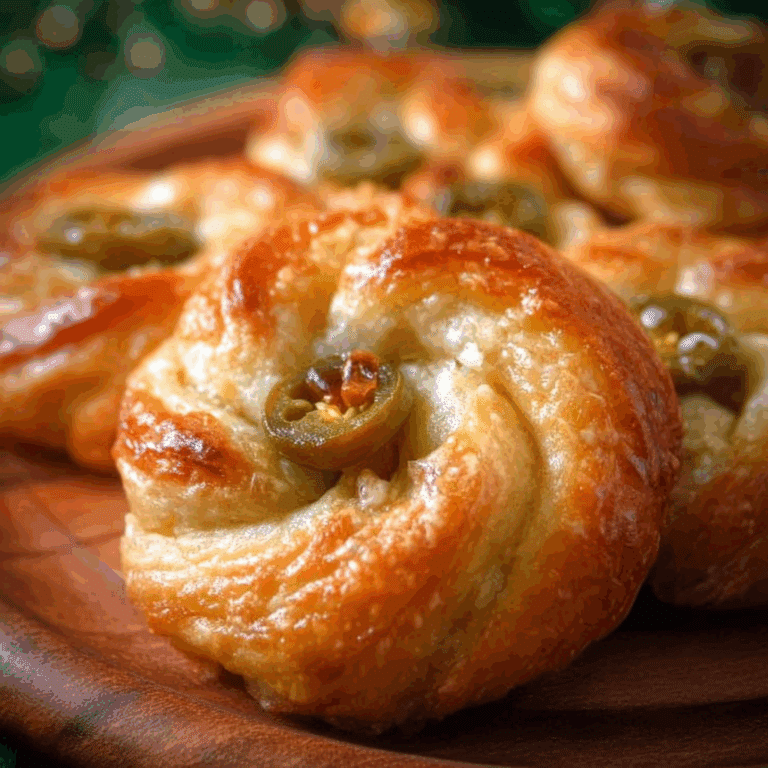
- How to Make Pickled Cherry Tomatoes and Vegetables
- Easy Easter Bunny Crescent Bites Recipe Fun
- Why Garlic Bread Ritz Bits Are Perfect Snacks
Homemade Cheez-Its
Crispy and cheesy Homemade Cheez-Its made from simple pantry ingredients, ready in under 30 minutes. These crackers capture the classic snack’s crunch and bold flavor with a fresh homemade twist, perfect for snacking or entertaining.
- Prep Time: 10 minutes
- Cook Time: 15 minutes
- Total Time: 25 minutes
- Yield: About 48 crackers 1x
- Category: Appetizers
- Method: Baking
- Cuisine: American
- Diet: Gluten Free
Ingredients
Basic Ingredients
- 1 cup sharp cheddar cheese, freshly grated
- 1 cup all-purpose flour
- 6 tablespoons unsalted butter, cold and cubed
- 1/2 teaspoon salt
- 2–3 tablespoons cold water
Optional Spices
- 1/4 teaspoon paprika (optional)
- 1/8 teaspoon cayenne pepper (optional)
- 1/4 teaspoon garlic powder (optional)
Instructions
- Prepare Your Ingredients and Tools: Gather all ingredients: sharp cheddar cheese, flour, butter, salt, and cold water. Preheat your oven to 350°F (175°C). Line a baking sheet with parchment paper or a silicone mat for easy cleanup.
- Mix the Dough: In a large bowl, combine the grated sharp cheddar cheese and cold unsalted butter. Use your fingers or a pastry cutter to blend until the mixture is crumbly. Stir in the all-purpose flour and salt. Gradually add cold water, a little at a time, mixing until the dough comes together but remains not sticky.
- Roll Out the Dough: Transfer the dough onto a lightly floured surface. Roll it out evenly to about 1/8-inch thickness. The thinner the dough, the crispier the crackers will be.
- Cut Into Squares and Dock: Use a sharp knife or pizza cutter to slice the dough into small squares approximately 1 to 1.5 inches each. Poke a hole in the center of each square with a toothpick to ensure even baking and achieve the classic Cheez-It appearance.
- Bake to Perfection: Place the cut squares on the prepared baking sheet, spacing them slightly apart. Bake in the preheated oven for 12-15 minutes, or until golden and crisp. Keep a close eye on them near the end to prevent burning.
- Cool and Enjoy: Let the crackers cool completely on a wire rack, allowing them to crisp up fully. Serve immediately or store for later snacking.
Notes
- Chill your dough for 15 minutes before rolling to make handling easier.
- Roll dough evenly to ensure uniform baking and crispness.
- Use freshly grated sharp cheddar cheese for better flavor and texture compared to pre-shredded.
- Watch the oven closely during the final minutes to avoid burning.
- Store homemade Cheez-Its in an airtight container at room temperature to maintain their crunch.
Nutrition
- Serving Size: 12 crackers
- Calories: 150
- Sugar: 0.2g
- Sodium: 180mg
- Fat: 11g
- Saturated Fat: 7g
- Unsaturated Fat: 3g
- Trans Fat: 0g
- Carbohydrates: 10g
- Fiber: 0.5g
- Protein: 4g
- Cholesterol: 25mg
Keywords: Homemade Cheez-Its, Cheddar crackers, crispy snacks, easy homemade snacks, cheesy crackers